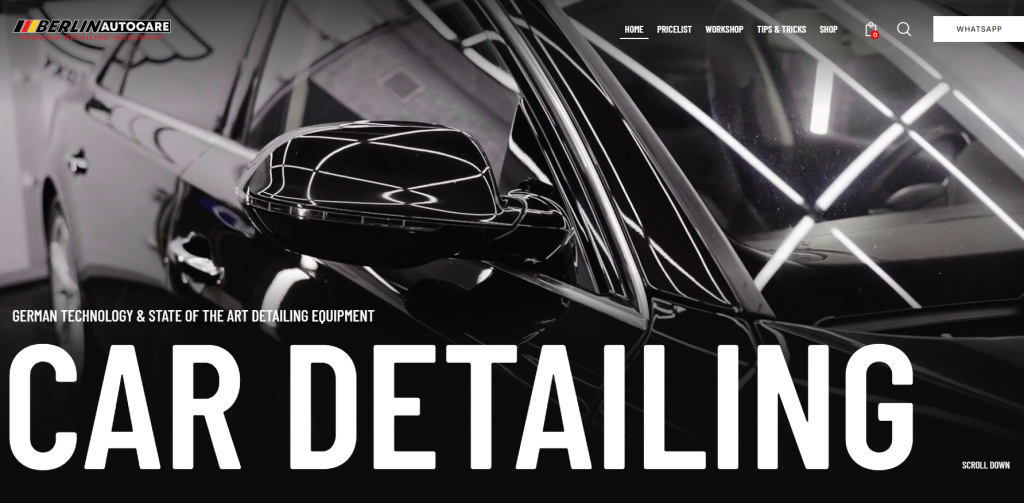
How do professional detailers completely transform the interior of nasty, neglected cars?
Is it the products?
The tools?
An expensive steamer or a $2,000 extractor?
What if I told you we don’t use any of those—and still get the same (or better) results in less time?
In this guide, I’ll walk you through my exact interior detailing process, step by step, using less than a dozen products. Whether it’s a maintenance detail or a disaster interior, this system delivers real results without wasting money on unnecessary equipment.
The Truth About Interior Detailing Products
Let me be clear from the start:
You do not need a massive lineup of interior products.
Companies that sell you separate cleaners for plastic, vinyl, leather, rubber, screens, and trim are selling convenience—not results.
Notice something important:
👉 We don’t use leather conditioner.
That’s not an accident.
We’ll get into why leather conditioner is basically a scam later in this article.
Step 1: Full Vacuum (Back to Front)
After removing the floor mats, the first step is a thorough vacuum.
- Start in the trunk
- Work your way forward to the front cabin
If you have an air compressor, it can speed things up—but it’s not necessary. If you’re on a budget, skip it and focus on technique.
Step 2: Interior Wipe-Down (Two Simple Options)
For cleaning all interior surfaces, we use one of two products:
Option 1: P&S Express Interior Cleaner
- Foams up nicely
- Makes it easy to see what you’ve cleaned
- More enjoyable to use
Option 2: DIY Detail All Clean (Diluted 30:1)
- More cost-effective
- Slightly stronger cleaner
- Doesn’t foam as much, but cleans extremely well
Both work great. Choose based on your budget and preference.
Process is simple:
- Spray
- Wipe
- Agitate with a brush when needed
Pro Tip: Cleaning Screens Without Damage
Screens are the easiest interior surface to damage, so you need to be careful.
Best practice:
- Use a brand-new microfiber towel
- Spray the cleaner onto the towel—not the screen
- Wipe gently with minimal pressure
- Flip the towel to a dry side and lightly remove residue
This prevents scratching and streaking.
Step 3: Interior Glass (No Streaks)
Two rules for glass cleaning:
1. Always Use Ammonia-Free Glass Cleaner
We use Sprayway because it’s:
- Tint-safe
- Effective
- Easy to work with
2. Block the Sun
Sunlight flash-dries glass cleaner, causing streaks.
Solution:
Place a towel over the outside of the windshield where you’re cleaning. This blocks sunlight and gives you a streak-free finish inside.
Removing Melted Gunk Without a Steamer
Cup holders often contain:
- Melted candy
- Chocolate
- Crayons
- Sticky grime
Most detailers reach for a steamer.
We don’t.
Our Method:
- Use DIY Detail All Clean (30:1 for interior)
- Spray generously into the cup holder
- Let it sit for a few minutes
- Agitate with a brush or drill brush
- Scoop out debris with a microfiber towel
This method saves $500–$1,500 and works just as well.
Perforated Leather: The Right Way to Clean It
One common issue with perforated leather is dirt trapped in the tiny holes.
Simple Fix:
- Use bamboo toothpicks
- Gently pop debris out of the perforations
- Safe, cheap, and effective
Why Leather Conditioner Is a Scam
Most leather conditioners:
- Add shine
- Add smell
- Do not add protection
That shiny, greasy look?
That’s not how factory leather looks.
Leather should look:
- Clean
- Matte
- Natural
What We Do Instead
Step 1: Clean the Leather
- DIY Detail All Clean (30:1)
- Light agitation with a brush
- Wipe clean for a natural finish
Step 2: Protect the Leather (The Right Way)
We use DIY Detail Interior Ceramic:
- SiO₂-based
- Real protection (not cosmetic shine)
- Protects against wear, dye transfer, cracking, and fading
- Lasts 1–2 years
Apply with a microfiber towel, wipe off excess, and you’re done.
Deep-Cleaning Floor Mats Without an Extractor
This floor mat came from a vehicle that hadn’t been detailed in 5–10 years.
No extractor needed.
What We Use:
- P&S Terminator (spot & enzyme treatment)
- P&S Carpet Bomber (shampoo)
- IK Foamer
- Drill brush
Process:
- Pre-treat stains with Terminator
- Let it dwell for a few minutes
- Apply shampoo with foamer
- Agitate with drill brush
Most stains come out with this alone.
When You Actually Need an Extractor (And When You Don’t)
Extractors are mainly used for:
- Removing excess moisture
- Heated water extraction (optional)
If you:
- Don’t oversaturate carpets
- Use proper chemicals
- Use a drill brush correctly
👉 You usually don’t need an extractor.
Build a DIY Extractor for $250
Instead of buying a $2,000 extractor, you can build one using:
- Rigid shop vac
- Wet filter
- Extractor head
- Water line with quick connect
Same performance. One-tenth the price.
Final Takeaway: Interior Detailing Is Simple
The biggest lesson from this interior process is this:
Interior detailing does not have to be complicated or expensive.
You can:
- Start today
- Spend a few hundred dollars
- Use smart products
- Deliver professional results
With the right system, you can build a detailing business that creates real income, real freedom, and real impact in your community.